Showing posts with label DIY. Show all posts

Friday, August 16, 2013

{DIY} tie bouquet

When Sam graduated from law school, I knew I wanted to get him something practical, that he would use, but that wasn't totally boring (ie: a fountain pen). I also knew that someone would likely get him a briefcase (and likely a much nicer brief case than I could afford). Also, I felt like it should relate somewhat to the business of law school, though on reflection this probably wasn't totally necessary because my favorite graduation gift (see below) had nothing to do with biology.


Me with my favorite graduation gift (and those two lovely parentals who gave her to me). 


So when I was thinking about what to give Sam, I simply thought to myself "What does a lawyer need that Sam does not have?" The answer was neckties. He had a couple, but when you wear a tie every single day, do you really want two or three ties to choose from? This is obviously something a female would think of...


I also knew that I didn't want to wrap up a bunch of neckties in a box and say "here ya go!". If you know me at all, you know that this is the last thing I'd be likely to do. So, about 6 months before Sam graduated from law school, I had the brilliant idea to make a tie bouquet. I'm not sure where this idea blossomed from, because I scoured the internet after I thought of it and only found a few different examples...and nothing telling you how to make one.

After I had my brainstorm, I had it in the back of my mind to look for ties on sale, so whenever I'd go to the mall, I'd keep my eye out to see if there were ties on sale anywhere. Luckily, I struck gold during Dillard's Semi-Annual Clearance Event. Everything in the store is an additional 40-65% off sale prices during this time, so I ended up getting 10 ties for a super decent price. I mean, we're talking such a good price that when my mom was helping me with this project, my dad walked by and said "ARE YOU SERIOUSLY CUTTING UP A $100 TIE?!?!"  Haha. Thanks dad. Also, no scissors were even in sight.


SO this is what my mom and I came up with. Mind you, I came up with these directions about 7:30 on a Friday night (Michael's closed at 8:00) and we just went for it.

This is what you need:
  • neckties (the amount you need varies depending how big you want your "bouquet")
  • a potting plant (similar here)
  • a foam ball (similar here)
  • garden stakes (pictured below)
  • double sided tape

These garden stakes are a huge pain, but they were pretty essential to the whole process.


First, lay out your necktie folded in half (like in the picture). It doesn't really matter which way you roll the tie, but it worked better for us to end with the smaller side (the part that would go around the neck). Otherwise, it kept falling apart because it was too big on the outside.

Tie the garden stake with the wires it comes with to the part of the tie that you can slip the back part of the tie through to keep it in place (I don't know the technical tie terms). Place several strips of double sided tape along the tie.


Start rolling the tie...


Then, forgive me, I forgot to take a picture before I stuck it on the bouquet, but make sure it's firmly attached together with double sided tape and then use the garden stake to stick it in the foam ball, then pop the whole thing in a planter. It admittedly does take some time to get them all positioned and the ties were pretty heavy so they kept falling off, but I did manage to get it to stay together...until I took it back to St. Louis. Then I had to basically redo the whole thing (without my mom's help, which meant the end product didn't look quite as great).


 I think it turned out pretty great! Sam said he was impressed, though he could have been just making me feel like I'm more creative than I really am.

In fact, here he is wearing the tie I demonstrated with :).

Just before we headed off to graduation!


Happy Necktie-Bouquet-Making!

Thursday, April 11, 2013

this is happening!!

So a few weeks ago I mentioned I was thinking of starting a little side business...and it's happening!


That's right, I opened up an Etsy shop!

I honestly just really love doing things like this because it's a great outlet for any stress that I get during my real job (which if you're aware of where I work & what I do, you totally get it...if not, assume it's stressful). I don't really care how much money I make doing it, hence the reason that items in my shop are priced far lower than other things I've seen on Etsy. I've also started a new tab up at the top of my blog so that you can see examples of other wreaths that I've customized for people.

For example:


I have visions of baby announcements and house numbers and all sorts of fun things to make these suitable for all occasions!

Anyway--pass along the message and check out what else I've been up to!


PS: If you have ANY suggestions for me, that would be fabulous!

Monday, March 18, 2013

a side business?

So I've mentioned my wreaths on the ol blog before, and now I have a serious question for you guys. I made the first one for myself, and then my mom asked me to make one for her classroom, so naturally I said yes, because it's my mom.

I then made another one for one of my friends who asked me to make her one, hence the 2nd Mizzou wreath.

Then I had a ton of ribbon left over, so I decided to make a Christmas wreath, because why not?
So then my mom called me the other day and said one of her coworkers expressed some interest in buying another wreath. So that got me thinking...is this something I should do and try to sell? I made two more, one for my parents to hang on their door at home (at least they can use it for my brothers graduation party or something), and then one for my aunt with the intention of her taking it to HER school and convincing some of her fellow teachers to invest in one.


 So here are my questions:

1) Do you think this seems like something people would buy? Is this a waste of my time (and money?)? I enjoy making them, so I don't really feel like I'm wasting that much time, but it is sort of expensive to buy a bunch of ribbon if you aren't getting anything back.

2) If you do think this would be a good idea, what would be an appropriate price to charge? I have sort of browsed on Etsy for similar things, btu haven't seen anything exactly like what I make.

I never ask people to leave comments on here, but if you could and tell me your opinion, I would really appreciate it!!


Sunday, January 27, 2013

pinspiration sundays

I feel like I need a whole other website to organize my Pinterest boards. Does that make sense? Every time I look at it I feel overwhelmed because I've pinned 50 more things and I can't even remember all of it.


Therefore I'm implementing a new weekly Sunday blog post. I'm going to choose 3 different projects/recipes/outfits that I want to try and replicate the following week. Maybe that'll help me tackle some of the things I've been wanting to do and will keep things in line.


1. Boston Cream Pie done the easy way via The Girl Who Ate Everything


2. Creamy Tomato Tortellini via Recipe Swagger


3. Something for Valentine's Day.

Maybe this:
source
Or this:

source

Are you planning to use your pinspiration this week? Leave a comment below and tell me what you're working on!

Saturday, January 12, 2013

DIY: hand painted canvas

I have to admit, I have Pinterest to think for this one as well. I have seen these lurking around for awhile and really liked the way they looked but knew I wanted to do it a bit differently.


Here's my inspiration:
{source}
 I liked it but I wasn't crazy about doing white on top, because I wasn't super crazy about the fact that it's not really clean looking. So anyway, that was my inspiration.


Here's what I did.

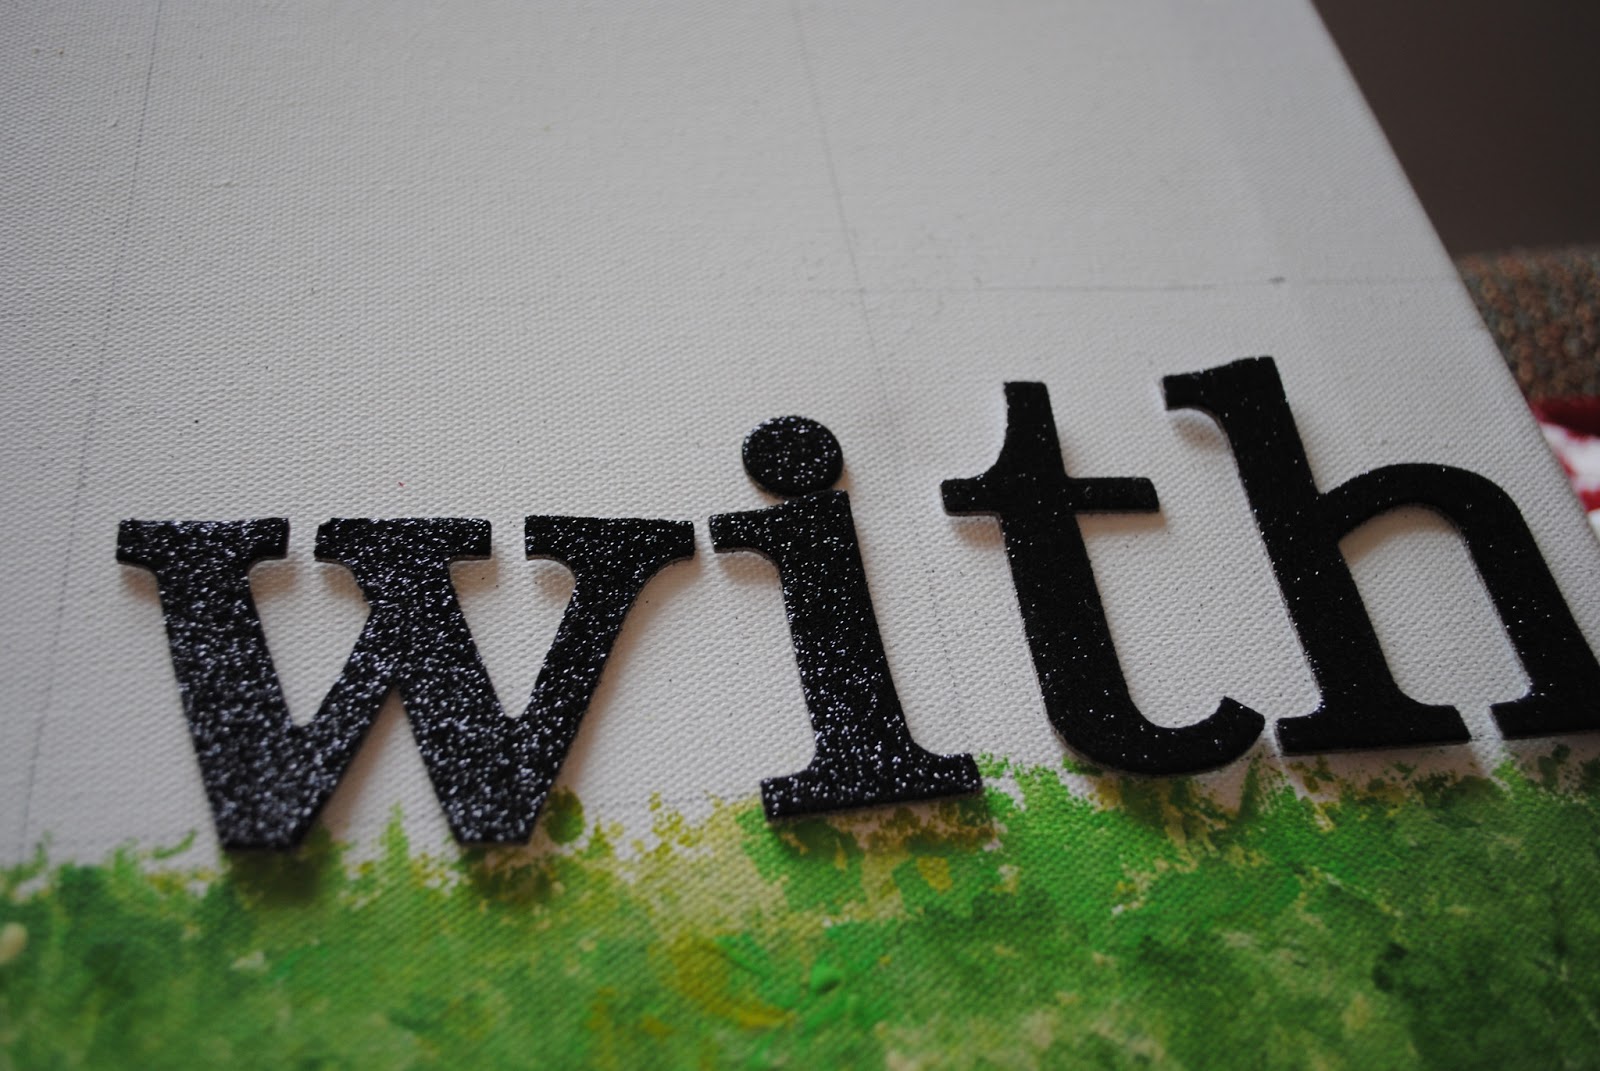
1) I chose my saying. Actually, Sam chose the saying. One of my favorite songs (it's on my playlist that is called "A Team" so you know it's serious.) is called "Home" by Edward Sharpe and the Magnetic Zeros. In fact, it's one of my ringtones, that is how much I love it. So when Sam suggested I make my saying "Home is wherever I'm with you," I was like uh, duh. However, he also added the suggestion that we take out the word "is" and make it a definition.

2) I bought a canvas and divided it into 4 equal sections.

3. I took some stickers found at Michaels and stuck them down to the canvas to paint over....
 ...like so. I used all different shades of green and just sort of went at it. I didn't do it in any particular order, I just chose to be abstract. I used 5 different shades, and I think that was a perfect range, but you could honestly do whatever you wanted to in terms of color.

4. After everything was dry-ish, I peeled up the stickers and was left with (mostly) clean white lines and a super canvas to hang on our wall!


5) Sam measured things out on the wall and we hung it up. I had been meaning to find something to dress up our guest bathroom a little bit, and this was the perfect addition.


What have you been crafting lately? 

Wednesday, January 9, 2013

DIY: homemade magnets.

One thing that I managed to never accumulate throughout college and the time after were magnets. I am kind of notorious for getting rid of things, so I'm definitely not the kind of person to keep old pizza place magnets or whatever. Therefore, when I moved out, I had no magnets.

One would think that magnets would be cheap. Maybe they are. However, the cheapest I found were these:
 
at Target. I mean, they were only $2.50, but I thought to myself, "Molly, you can find a better deal than that. And they'd probably be cuter than those magnets anyway."

And voila: I did what I do best. I made them myself.


So here's what I did.


I took a bag of 20 different rocks (found in the floral section at Michaels for $2.50--hence the same price as the 6 cheap not unique magnets found at Target)...

Then I took these magnets, also found at Michaels, which I got for $3.00 for a package of 50 with a 40% coupon (so, if anyone else needs some homemade magnets...I have a lot of leftover magnets...).


Glued these to the back of the rocks..
(Don't steal my fingerprints!)

And voila! 20 unique, totally awesome magnets. 
I love these more than any other cookie cutter magnets than I see at the stores, plus I got to spend my afternoon crafting and watching Parenthood. Bonus.

What have you been making lately?

Wednesday, November 28, 2012

DIY Christmas wreath

Remember my Mizzou wreath? I used that inspiration to make another one!


Behold my Christmas ribbon wreath!
 Ribbon stock up at, where else? Michaels.

I really think it's adding a lot to the hallway. I know the door of 209 certainly appreciates it!

Tuesday, November 27, 2012

pinterest project {DIY holiday yarn letters}

 Have you seen these super cute yarn letters all over Pinterest?

{source}
I loved this the first time I saw it, but as with most things I pin on Pinterest, once it's pinned, I totally forget about it. I decided NOT to do that this holiday season, and I have been making a conscious effort to look at my boards before I make my weekly trip to Michaels (yes, it's weekly. depressing.).

I decided to make my letters spell out "ho ho ho" because honestly, I thought at least the "O" would be easy.. haha!

 I took some cheapo wooden letters from Hobby Lobby ($1 each, holla!),

picked out some yarn (side note, this was wayyyyyyy too much yarn. Anyone need some burgandy/ivory yarn?),
 and got to wrapping! The Hs were easier because you didn't have to cut the yarn to wrap it.

 
I love it! If you make the picture bigger you can see the corners aren't perfect, but honestly you can't really see them at all.
I put them in this super awkward place above our kitchen sink that needed a little something. It still looks a little bare so I may have to DIY something else to stick up there with it :).

What holiday crafting have you been up to?!

Wednesday, August 29, 2012

diy: {hangover kits}

I mentioned in this post that I made "hangover kits" for A's bachelorette party. They were super easy to put together, mostly because I knew I was going to do this so I started buying things whenever I had to go to Target, CVS, or Wal-Mart for something else.


First up, what I put in them!
Clockwise from the Sprite: Sprite, Tylenol, Tums, Lifesavers Mints, Orbit gum, Makeup remover wipes, a travel first aid kit, and some mouthwash.


Then, I printed out this little saying and cut it out with my circle cutter.


This was way harder than I thought it would be. I was terrible at centering the saying in the circle.

I then punched out some more circles and wrote all of the girls' initials on them so they'd be a little more personal.

And then tied the bags up with some cute ribbon!

What do you like the morning after a bachelorette party? My drugs of choice are a bottle of water and a bowl of plain white rice. Random, but I swear it works!


PS: Welcome those of you who found this post on Pinterest! Leave a comment below and let me know what you would add (or take out of!) these bags!!

Wednesday, June 13, 2012

diy: {chalkboard wine glasses}

 Awhile back, I found this cute idea on (where else?) Pinterest.


I started out by taking some wine glasses that my aunt graciously gave me for free....
Do you spy my little helper?

and used some painter's tape to tape off the stem so that the barrel of the glass remained paint free. 
 Then, I wrapped some newspaper around the glass to make especially sure that the glass was safe.
 I then took my glasses outside to a well-ventilated area to spray the stems. My helper tagged along.
I used this Krylon Chalkboard spray paint which I found at Hobby Lobby. It was $7.99, but I used a 40% off coupon and got a good deal on it. Also, I hardly used any of it so it will definitely last me forever.

I then sprayed the stems on the top and bottom and let them dry a bit.

Albert really wanted to lick the glasses, but don't worry, I didn't let him.

And in the end, this was my finished product! They turned out just like the picture, and I found a chalk marker that writes beautifully at Michaels. Not that we host parties a lot, but I can't wait to use them some day (I already used them for my bff's bachelorette party and they worked well!). One cautionary note: do NOT wash these in the dishwasher after you've sprayed them with the paint. It will come off...and then you will have black flecks all over your dishwasher. Whoops!