Showing posts with label Pinterest. Show all posts

Tuesday, February 5, 2013

pinspiration sundays (on a tuesday).

Forgive me for already messing up my weekly column. I know you're not surprised.


I worked 4 nights in a row over the weekend (Thurs-Sunday) and also came down with a sinus infection, so to say I was incapacitated is an understatement. On my last night of work my sweet patient said to me, "What's wrong with you, you can't talk." Thanks, little man. One of the many reasons I adore working with kids, they tell you like it is.

Anyway, here's whats (p)inspiring me this week!

Skinny Buffalo Chicken Lettuce Wraps via Gina's Skinny Recipes.
Umm..yum! I just made some crockpot chicken today so I know what I'm going to do with the rest of it!


Inspiration for some new wall art in our bedroom:

And finally, attempt this 'do for dinner with my 'rents on Saturday night.


What's inspiring you this week?

Sunday, January 27, 2013

pinspiration sundays

I feel like I need a whole other website to organize my Pinterest boards. Does that make sense? Every time I look at it I feel overwhelmed because I've pinned 50 more things and I can't even remember all of it.


Therefore I'm implementing a new weekly Sunday blog post. I'm going to choose 3 different projects/recipes/outfits that I want to try and replicate the following week. Maybe that'll help me tackle some of the things I've been wanting to do and will keep things in line.


1. Boston Cream Pie done the easy way via The Girl Who Ate Everything


2. Creamy Tomato Tortellini via Recipe Swagger


3. Something for Valentine's Day.

Maybe this:
source
Or this:

source

Are you planning to use your pinspiration this week? Leave a comment below and tell me what you're working on!

Saturday, January 12, 2013

DIY: hand painted canvas

I have to admit, I have Pinterest to think for this one as well. I have seen these lurking around for awhile and really liked the way they looked but knew I wanted to do it a bit differently.


Here's my inspiration:
{source}
 I liked it but I wasn't crazy about doing white on top, because I wasn't super crazy about the fact that it's not really clean looking. So anyway, that was my inspiration.


Here's what I did.

1) I chose my saying. Actually, Sam chose the saying. One of my favorite songs (it's on my playlist that is called "A Team" so you know it's serious.) is called "Home" by Edward Sharpe and the Magnetic Zeros. In fact, it's one of my ringtones, that is how much I love it. So when Sam suggested I make my saying "Home is wherever I'm with you," I was like uh, duh. However, he also added the suggestion that we take out the word "is" and make it a definition.

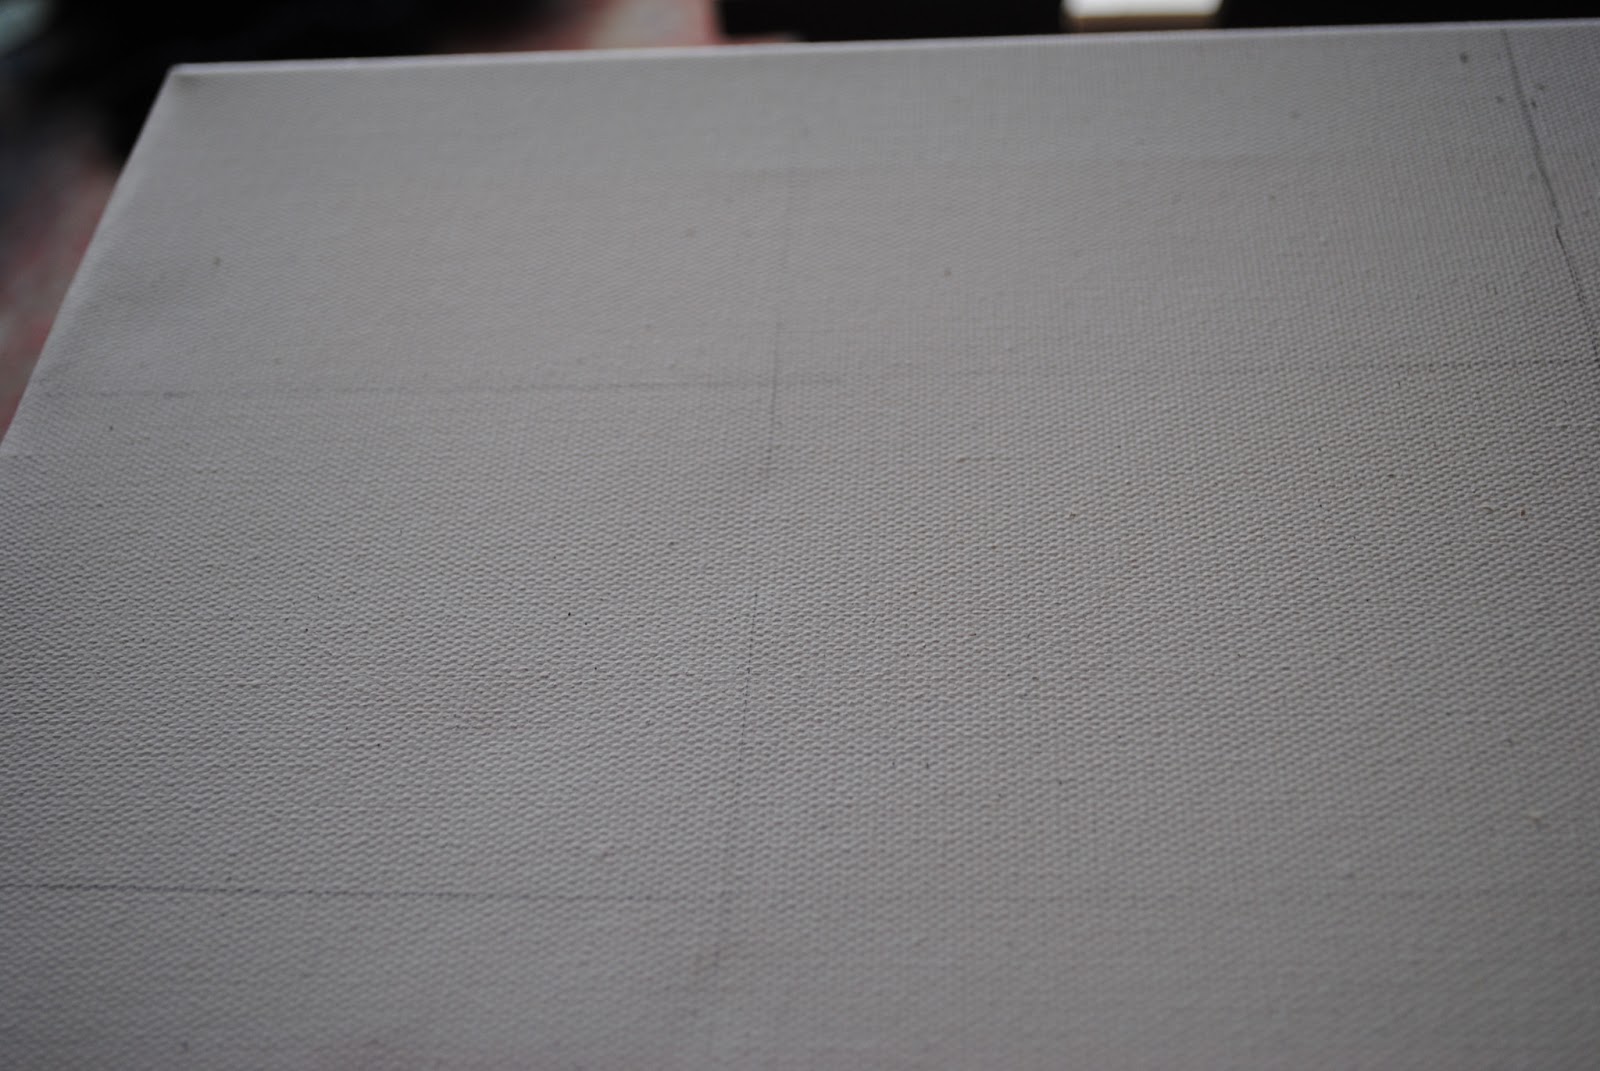
2) I bought a canvas and divided it into 4 equal sections.

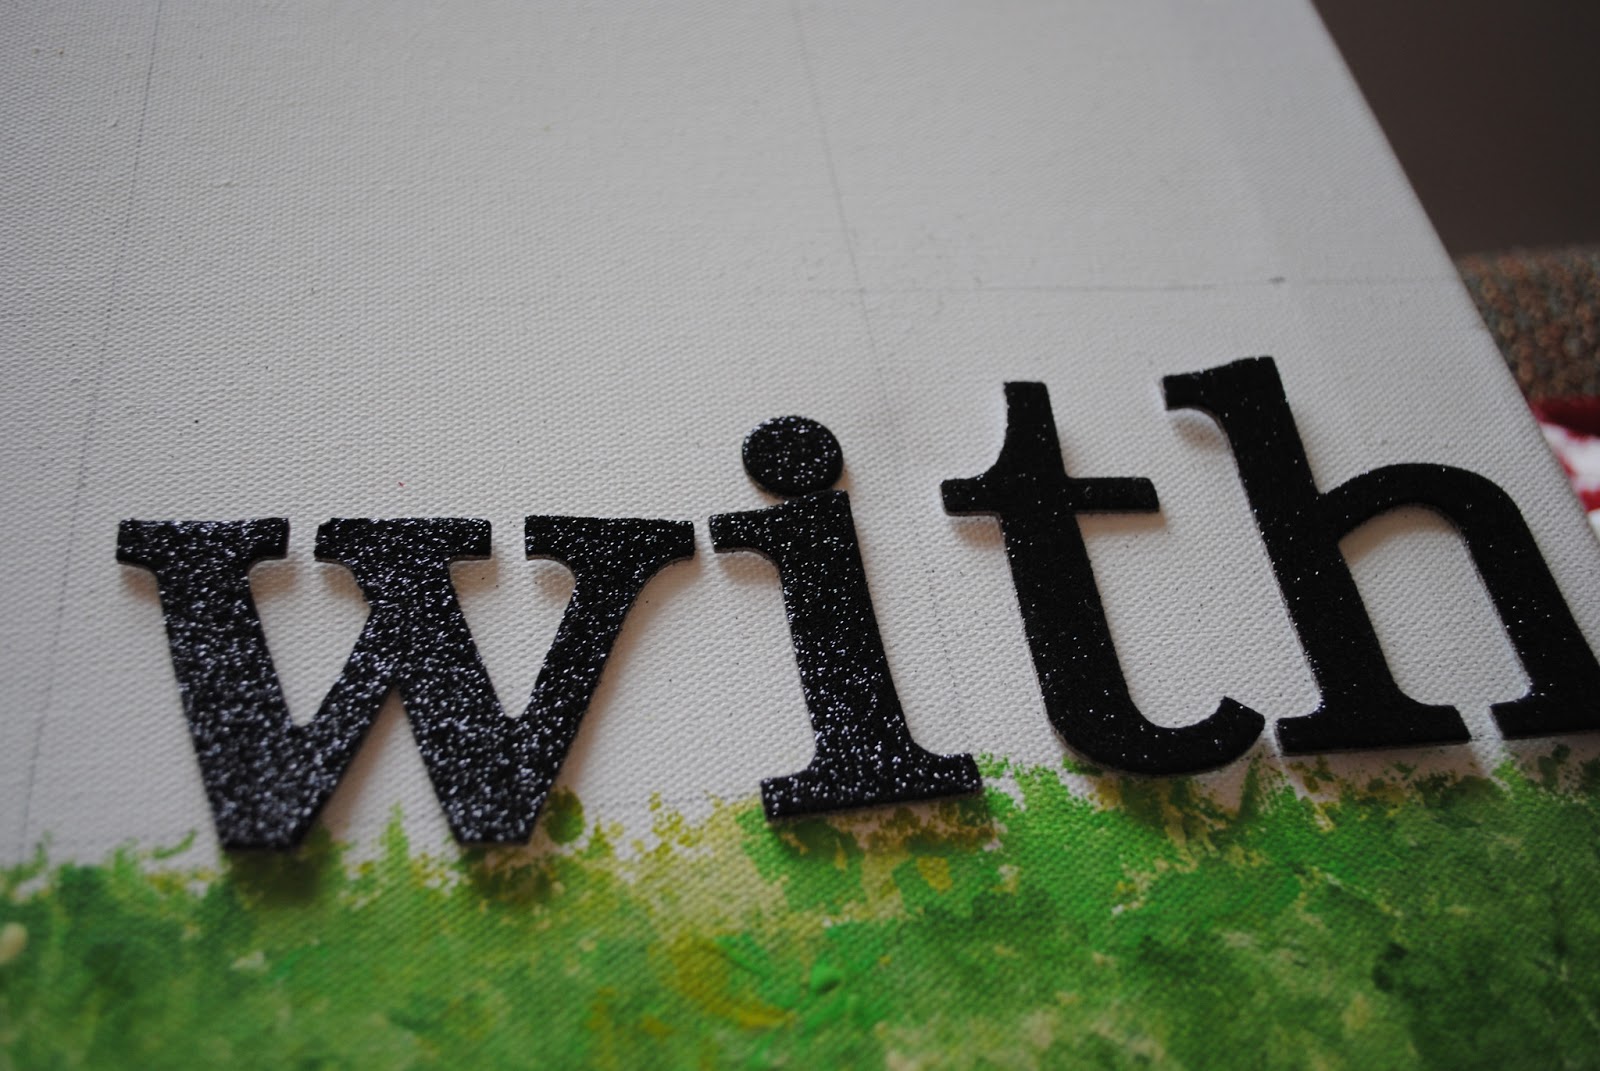
3. I took some stickers found at Michaels and stuck them down to the canvas to paint over....
 ...like so. I used all different shades of green and just sort of went at it. I didn't do it in any particular order, I just chose to be abstract. I used 5 different shades, and I think that was a perfect range, but you could honestly do whatever you wanted to in terms of color.

4. After everything was dry-ish, I peeled up the stickers and was left with (mostly) clean white lines and a super canvas to hang on our wall!


5) Sam measured things out on the wall and we hung it up. I had been meaning to find something to dress up our guest bathroom a little bit, and this was the perfect addition.


What have you been crafting lately? 

Tuesday, November 27, 2012

pinterest project {DIY holiday yarn letters}

 Have you seen these super cute yarn letters all over Pinterest?

{source}
I loved this the first time I saw it, but as with most things I pin on Pinterest, once it's pinned, I totally forget about it. I decided NOT to do that this holiday season, and I have been making a conscious effort to look at my boards before I make my weekly trip to Michaels (yes, it's weekly. depressing.).

I decided to make my letters spell out "ho ho ho" because honestly, I thought at least the "O" would be easy.. haha!

 I took some cheapo wooden letters from Hobby Lobby ($1 each, holla!),

picked out some yarn (side note, this was wayyyyyyy too much yarn. Anyone need some burgandy/ivory yarn?),
 and got to wrapping! The Hs were easier because you didn't have to cut the yarn to wrap it.

 
I love it! If you make the picture bigger you can see the corners aren't perfect, but honestly you can't really see them at all.
I put them in this super awkward place above our kitchen sink that needed a little something. It still looks a little bare so I may have to DIY something else to stick up there with it :).

What holiday crafting have you been up to?!

Friday, November 16, 2012

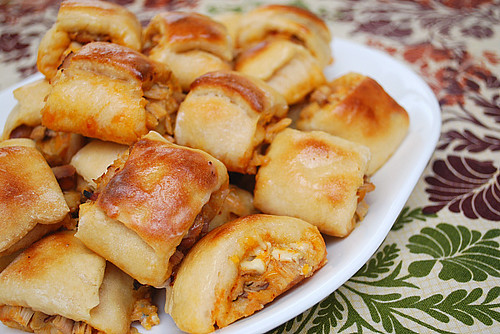
pinterest project {buffalo chicken roll-ups}

Have you noticed that food tends to go through trends? Yep, similar to clothing trends. I noticed it for the first time with avocado this year. Tons of recipes I found on Pinterest called for avocado, and then I even heard an advertisement on the radio telling people to use avocados for dinner. Then I noticed it with the pistachio commercials on TV. I mean, if Khole and Lamar do it...


Anyway. Another "food trend", which I have decided is definitely a real thing, is anything containing buffalo chicken. Buffalo chicken dip, salad, wraps, grilled cheese, tacos, seriously, anything with buffalo sauce and shredded chicken and there is a recipe out there for it!

I pinned these bad boys awhile back:

via What's Cookin' Chicago?

And man do they look delicious! The main problem I found with this recipe was that it called for you to make the dough on your own. I barely have time to think about dinner, let alone let dough rise for 2 hours. Maybe someday.


Therefore, I just invented my own recipe. We ate them as a meal with salad, but I think they'd be great as an appetizer, too.

What you'll need:
Shredded chicken, 1 cup or so (cooked my new favorite way, a post on that coming soon!)
1/4 cup or so of Buffalo Wing sauce (we use Frank's)
1/2 cup of bleu cheese crumbles
2 cans of crescent rolls
Optional: ranch or bleu cheese dressing for dipping.
You take one of your crescent rolls...
Add your chicken and bleu cheese (or whatever kind of cheese you prefer)...
Then roll it up!


Someday our kitchen will have better lighting and my pictures won't be totally blurry and dark. Someday.

Seriously, these are SO easy and so delicious!


We dipped ours in ranch and it was amazing! I highly recommend trying these either for an appetizer or as a meal.


Wednesday, October 17, 2012

pinterest projects {2 knockout recipes}

I have been pinning things for a very long time, and I have just recently started to go back and look at my old pins to see what we should have for dinner.

Last night I tried two different recipes, and they were both AMAZING.

First up:

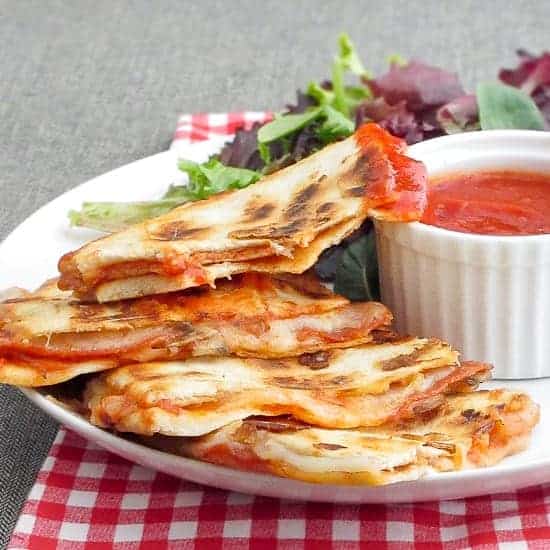
Pizza Quesadillas
via Snixy Kitchen
photo also via Snixy Kitchen
These were the bomb. I loved them, and while he liked them, Sam would have preferred additional "toppings", but I thought they were fine the way they are.

Basically what you do is buy some pepperoni (I got ours from the deli counter and thought this was better than the prepackaged kind). Pan fry the pepperoni so it's crispy, then brush pizza sauce on two flour tortillas, throw on some cheese, and put the pizza sauce sides towards the middle and then crisp in a cast iron skillet (3-5 minutes on each side). Super easy, super delicious.


Next:

Mini Halloween Oreo Cheesecake
 via A Bitchin' Kitchen 

Not the best picture, but ohmigosh you guys, these are SO GOOD. Sam gave them an A+. I would give them an A+++ if that was possible.

Instructions are on her website, and trust me, you'll want to go make these ASAP. I suggest making them when you're going to have company or a work potluck, because it's torturous to have them sitting around your house and to try not eat them all day.


What kinds of things are you cooking up these days?
 

Sunday, August 26, 2012

pinterest projects {mizzou wreath}

We have a lot of school spirit around this apartment...some more (Sam) than others (me). Even though I am not the type to sign on to PowerMizzou for hours or follow all of the Missouri Tiger Football/Basketball players on Twitter, I do bleed black and gold and am always so proud to say I went there.


Football season kicks off next weekend, and I'm super excited I get to go to the game (even more excited that my BFF Sara will be there with me!), so in the spirit of things, I scratched another Pinterest Project off my long to-do list.


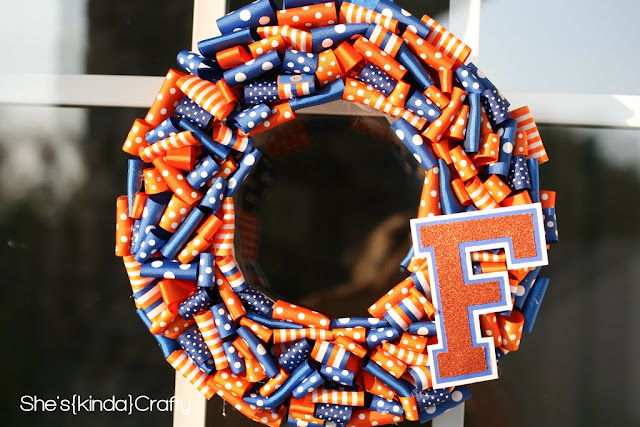
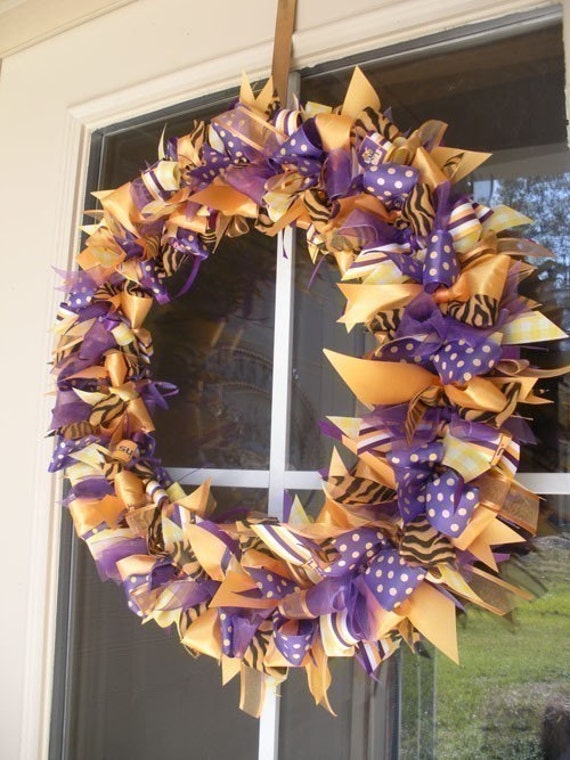
Here's some Pinspiration:

via
via


I had a general idea of what I wanted to do, so I went to Michaels (they just built an AMAZING two story Michaels about 10 minutes from our apartment--it's in an old Borders, Rest In Peace, and it is HUGE) and browsed for all of the materials.


This is where I made one of my few mistakes of the project. I looked at the Michaels ad online on Thursday and saw all of their ribbon was on sale for 40% off, holla! I thought to myself "make sure you go get this before Sunday!" and then I went on my merry way today (aka, SUNDAY) and was shocked when the ribbon wasn't on sale anymore. Ugh. Work is messing my mind up big time! I decided since I was there anyway I would just go ahead and buy it, but it was pricey and I kind of regret being impatient. Story of my life.
Ah, one of my favorite color schemes!
 I also picked up some gold paint, black letters, and a sheet of wooden pine to use to affix the letters to the wreath.

There are a LOT of different wreaths at Michaels. I got this one because I knew I was just going to cover it in ribbon, so it didn't really matter what it looked like underneath. This one was only $3.50, whereas some of the other floral wreaths were $9, $10, or $12.

On my way to check out, I found these little Christmas ornaments in the dollar zone! 


I started trying to wrap the thick black ribbon all the way around the wreath, but only got halfway around before it ran out. Here is mistake #2. When you buy ribbon, check the yardage. Some of the ribbon I bought were 3 yards long, some were 10. I ran out of ALL of the 3 yd ribbon. 


Instead, I spaced it out a bit. It turned out totally fine. 


 I then cut some ribbons into equal length and started tying them at random around the wreath, making sure to cover up the straw parts first.
 I then painted the pine gold and hot glued the letters to it, then hot glued the pine to the wreath.

I then attached the ornaments at random to polish it off! I think it turned out pretty well :). 


In fact, I love it so much, I hung it on the INSIDE of our door, so I can see it all the time (and no one can take it!). 

Are you ready for college football season? Who are you going to be rooting for?

Monday, July 23, 2012

pinterest projects {mason jars}

 We recently moved into a larger apartment which means more space to fill and more nooks and crannies begging for my creative attention.

I saw this pinned awhile ago, and showed it to Sam. He liked it (yay!) which meant I didn't have to feel guilty about having already bought the mason jars :).


I like that it's simple and different than just having your silverware in a boring old drawer organizer!

I wanted to do something that tied in our kitchen colors, so I dug around in my craft stuff and found some ribbon to just add something extra. The best part about the ribbon is that it's simple to switch out because you can tie it tight enough that it won't fall down, so you don't need to glue it or anything! Holla!

Here's our interpretation of the above:


And Sam loved it so much...
 it found it's way into our bathroom as well!


What sort of crafting have you been up to lately?

Wednesday, June 13, 2012

diy: {chalkboard wine glasses}

 Awhile back, I found this cute idea on (where else?) Pinterest.


I started out by taking some wine glasses that my aunt graciously gave me for free....
Do you spy my little helper?

and used some painter's tape to tape off the stem so that the barrel of the glass remained paint free. 
 Then, I wrapped some newspaper around the glass to make especially sure that the glass was safe.
 I then took my glasses outside to a well-ventilated area to spray the stems. My helper tagged along.
I used this Krylon Chalkboard spray paint which I found at Hobby Lobby. It was $7.99, but I used a 40% off coupon and got a good deal on it. Also, I hardly used any of it so it will definitely last me forever.

I then sprayed the stems on the top and bottom and let them dry a bit.

Albert really wanted to lick the glasses, but don't worry, I didn't let him.

And in the end, this was my finished product! They turned out just like the picture, and I found a chalk marker that writes beautifully at Michaels. Not that we host parties a lot, but I can't wait to use them some day (I already used them for my bff's bachelorette party and they worked well!). One cautionary note: do NOT wash these in the dishwasher after you've sprayed them with the paint. It will come off...and then you will have black flecks all over your dishwasher. Whoops!