Showing posts with label home decoration. Show all posts

Friday, May 3, 2013

apartment tour: master bedroom

Since Sam and I are moving in the relatively near future, I wanted to post some pictures of our current digs so that a) you all can see where we'll be living for the next 1-2 months :) and b) I can always remember what our very first apartment looked like after about 10 months of me getting rid of all of Sam's stuff adding my personal touches around the apartment :).


Our bedroom is my favorite room in our apartment, which is the way it should be, since this is where I spend the majority of my time. This is the room where I have spent the most time, money, and energy trying to decide I what I wanted to do. It was also the biggest point of contention between Sam and I as far as decorating goes, mostly because it's the area where I asked him his opinion the most.


Our bedding is from Urban Outfitters, our sheets, the throw pillow, and throw blanket are Threshold by Target. These sheets are basically the softest sheets you'll ever feel. I made the artwork above the bed, tutorial coming soon! If you look closely, you can see that we don't have a bedskirt (I probably shouldn't have pointed that out, because I bet you wouldn't have noticed if I hadn't!), and our mattress/box springs are resting on the floor. We only like to be halfway grown-ups.


The side with the bedside table is my side, because I'm a girl and I have more stuff :). You'll also notice Sam's sweet telephone/alarm clock combination. Unfortunately (?) the telephone does not work. 


Our huge windows are one of my favorite parts of the apartment. The only bummer is that they are all the way to the ceiling, so we were never sure of what to do as far as curtains. Therefore, we just use the blinds which on really sunny days makes it hard to sleep all day (for night shifts).

You can also see down there in that right hand corner there is a kennel--no we do not have a pet. It's there as a sad reminder that we do not have a cat or a dog in this apartment. 


Opposite the window is our closet/master bathroom. I won't show you the closet because it's completely disorganized at the moment, and I cannot figure out what to do with our shoes.

Across from the bed is our tiny tiny dresser that holds like two shirts (I may be a tad dramatic) and one of our overflowing bookshelves (this one has books that we actually LIKE to read on it). 


Another interesting aspect of our apartment? No overhead lighting. We rely on lamps and makeshift headboards made from Christmas lights :). 

Saturday, January 12, 2013

DIY: hand painted canvas

I have to admit, I have Pinterest to think for this one as well. I have seen these lurking around for awhile and really liked the way they looked but knew I wanted to do it a bit differently.


Here's my inspiration:
{source}
 I liked it but I wasn't crazy about doing white on top, because I wasn't super crazy about the fact that it's not really clean looking. So anyway, that was my inspiration.


Here's what I did.

1) I chose my saying. Actually, Sam chose the saying. One of my favorite songs (it's on my playlist that is called "A Team" so you know it's serious.) is called "Home" by Edward Sharpe and the Magnetic Zeros. In fact, it's one of my ringtones, that is how much I love it. So when Sam suggested I make my saying "Home is wherever I'm with you," I was like uh, duh. However, he also added the suggestion that we take out the word "is" and make it a definition.

2) I bought a canvas and divided it into 4 equal sections.

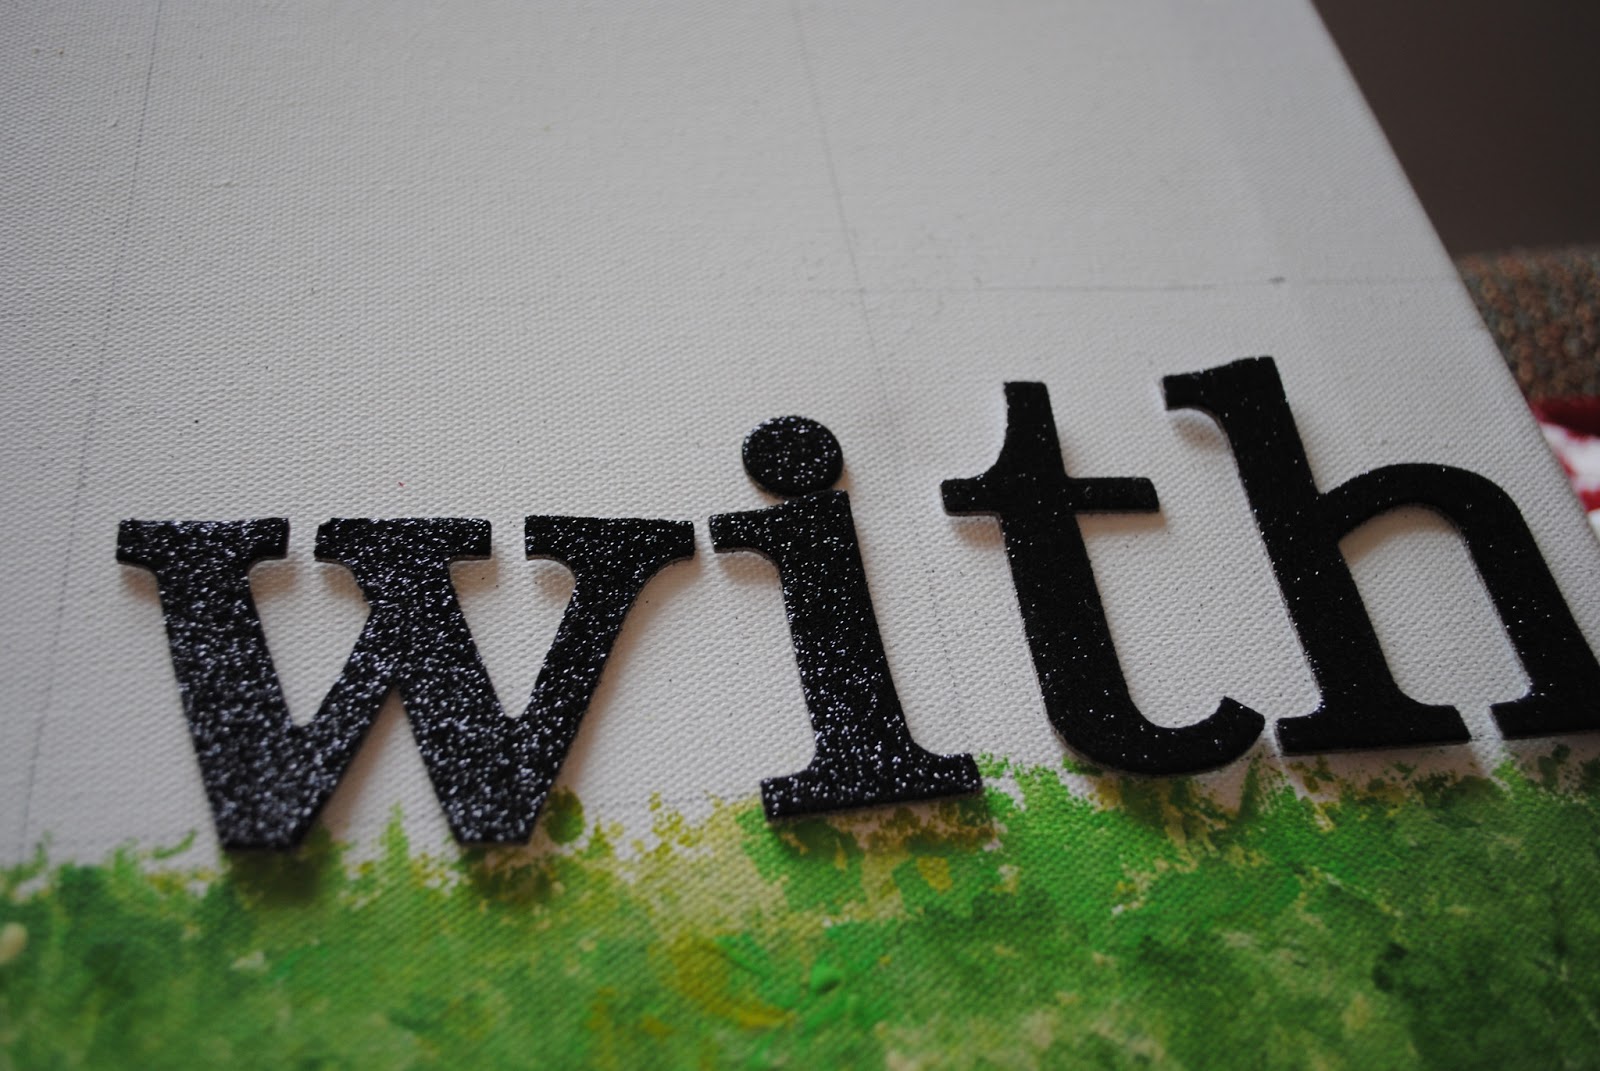
3. I took some stickers found at Michaels and stuck them down to the canvas to paint over....
 ...like so. I used all different shades of green and just sort of went at it. I didn't do it in any particular order, I just chose to be abstract. I used 5 different shades, and I think that was a perfect range, but you could honestly do whatever you wanted to in terms of color.

4. After everything was dry-ish, I peeled up the stickers and was left with (mostly) clean white lines and a super canvas to hang on our wall!


5) Sam measured things out on the wall and we hung it up. I had been meaning to find something to dress up our guest bathroom a little bit, and this was the perfect addition.


What have you been crafting lately? 

Thursday, January 10, 2013

it's flammable?


So, I found this really awesome rug at Anthropologie for $30 the other day. It's totally cute, right? It fits perfect right there in the corner of our bathroom under the sink? I thought so too!

So I saw the tags sticking out from underneath it, so I picked it up to tear them off. And this is what I found:

Uhhhhh...oops?

Friday, September 23, 2011

i heart fall!

Fall is in the air in our household. We've been keeping the windows open at night (hence the beginnings of the sore throat I can feel), and even though my mother adamantly refuses to get excited about any sort of decorating, I have enough excitement for like 4 people.

Remember that little obsession I constantly talk about called Pinterest? Yep, inspiration for this blog post too. I always doubt my abilities to be crafty, but when I showed this project to my mom she didn't believe I made it (she thought I bought it at the store), and Sam said "that looks like it was made by a pro for real." So therefore, I believe it is blog worthy!

So, without further ado, behold, The Fall Wreath.

I started out with a basic GrapeVine wreath from JoAnn Fabric. They are only $4.99 and they happened to be buy one get one half off, so I picked up another one to make a Christmas wreath (spoiler alert!).


They also had a bunch of "Autumn Inspiration" bouquets, so I picked up three of those. You could probably vary how many you buy by how voluminous you want your wreath to be. These were also a steal--the bigger one was $4 and the others were $1. I got lucky and went on a day when all of their fall stuff was 50% off! Once I got them home, I cut each individual stem apart so that they'd be easy to stick in the wreath.

These were each like $1.50, and while they weren't as good of a deal as the bundled bouquets, I thought the little scarecrow man would make the wreath.

I also bought some ready to finish numbers and painted them white. I thought these were 50% off (and they were only $2 to begin with) but the woman at the register wouldn't quit arguing with me about it and I was really hungry so I just paid full price for them. She was really annoying.

So anyway, this type of wreath is SO EASY to make. I just stuck each of those individual stems through the wreath and made sure they weren't poking through the back. Although the covering on the stems are plastic, the underneath part is wire so it makes it easy to bend and make sure it's in there really snug. It does not make it easier to cut, FYI.

And here's the finished product! I was pretty impressed myself, although now looking at this picture I can see a gap in the leaves I'm not pleased about. As you can tell the house numbers aren't on there, because I can't figure out how to glue them on there. Hot glue won't hold them to the leaves, so I'm thinking I might try some twine or something.

And here is the beginning of my other fall project. I'm obsessed with tablescapes and I'm terrible at making them. We had most of these things (minus the pumpkins and scarecrows), so I just decided to put out what we had and then add as I find more stuff on sale.


Did I mention I love fall?
How is everyone else decorating for this most joyous of seasons?!

Tuesday, September 20, 2011

bathroom overhaul

This is a project that I started for.ev.er. ago when I first moved back from Columbia. My bathroom (okay, I have always shared with my brothers), was so pretty when I went to Mizzou, and over the 5 years that I was gone, my brothers demolished it. I couldn't stand how masculine it was, so I decided to switch it up a bit. Here's the finished product!
Before.. super not cute shower curtain, my brother's artwork from the 8th grade. I forgot to snap a picture of the other wall, but there used to be some cheapy black frames with pictures of us in them that were totally falling apart.
Before...bottles all over the sink, make up bags and straighteners and wires everywhere. I admit, some of this is my mess.


And after! I went with a beachy theme because I already had a lot of it (the shower curtain and candle in this picture). I made the wall art by using some seashells that we already had around the house and painting some $2 canvases from Hobby Lobby a sand color.

This picture is terrible because the lighting in the bathroom is so awful, but we are still looking for some pictures to put in that frame, and then it'll go on the wall. Notice there is NOTHING on the cabinets, which makes me happy.

I had this shelf in my bedroom and when I overhauled my bedroom, it got reassigned to the bathroom. We also had these shells, the candle, and washcloths. I also found the little seashell frame for $3 at Kohl's at the end of the summer.

I bought that bath rug and another matching one at Target for $4.50 last weekend.. they were normally $20! Such a bargain.

Outside looking in. I love it! I think it's not too feminine (although Nick doesn't agree), and I DEFINITELY don't think it's too masculine! Now onto the next room...